
Last updated on 10th May 2026 by Sarah Sarsby
To help you take stunning pictures for your blog or Instagram feed, these 10 helpful flatlay tips will take your photography to the next level. From props and layout ideas to colour palettes and lighting tips, this blog post has got you covered.
Disclaimer: I’m not a professional photographer. However, after blogging for nearly 3 years, I’ve certainly picked up a few useful flatlay photography tips along the way. These tips have helped me level up my blog pictures so that they look more attractive for my readers and across socials.
Personally, I like – and feel I’m best at – minimal flatlay shots. But playing around with different styles and sourcing inspiration will help you discover what sort of photography you like the most. For more ideas, check out my flatlay inspo board on Pinterest.
Keep on reading for my 10 super helpful flatlay photography tips.
This post contains some sponsored links
What is flatlay photography?
Flatlays are a style of photo where you take a picture on a flat surface of an array of objects from directly above – a bird’s eye view. Whether you have lots of props and accessories or a minimal shot of just one product, flatlays are very popular, particularly among fashion, beauty, lifestyle and food bloggers.
Flatlay tips
So, we know what a flatlay is now but how do we get them to look good? The truth is, it’s a lot of trial and error. There’s no right or wrong way to take photos and it’s all about being creative. However, the tips below can take your photos from good to great. They’re also handy for those starting out with flatlays who want some more pointers and inspiration.
1. Find a light, open space
Before you begin taking flatlays, you’re going to want to find a light, open space. Whether you like to take photos in natural light or use a ring light, having an open space that won’t cast shadows is pivotal. Near a window, particularly a bay window, is normally a good shout.
P.S. I ordered my ring light from Amazon and it’s fantastic.
Good lighting is essential for bright and airy photos that come out high-res. I often prefer to use natural lighting but ring lights give you that bright white Instagram vibe, which is always a nice aesthetic. If you can get a desk in this light open space for you to lay items down on, that would also be helpful.
2. Get directly above the products for a perfect shot
If you arrange your products on the floor when taking a photo, kneeling or standing will enable you to get directly above them for the perfect bird’s eye view. If you’re using a desk, you could try standing on a stool or sturdy chair to get more height.
3. Choose light backgrounds
Particularly when you’re first starting out, you’re going to want to choose light background for your flatlays. Why? Because it’s a lot easier to add products and other colour palettes on top of a white canvas than a black one. As you become more experienced, you can play around with different coloured backgrounds.
Light backgrounds, particularly white or light grey ones, always complement whichever products you place on top, making them a great canvas to work with. I love plain white backgrounds, white marble backgrounds and light pink fluffy material for my photos.
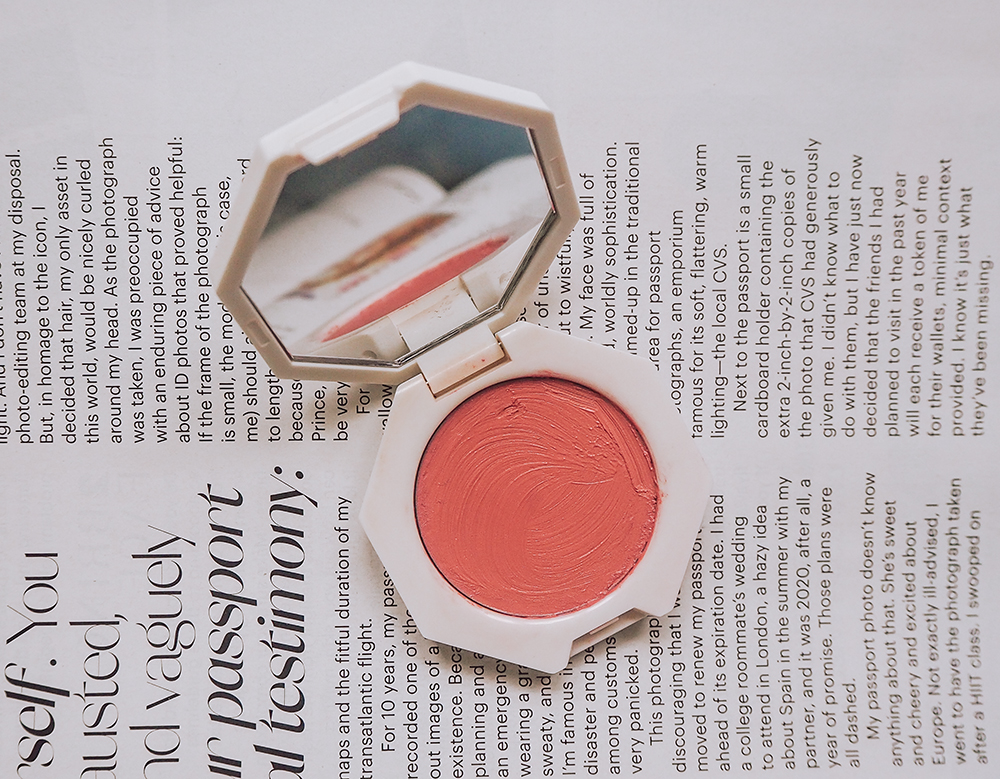
4. Use books and magazines
Books and magazines are great accessories for flatlays. They add depth to your image. Whether you choose the front cover or inside pages, you can get some really interesting shots. I love using magazines in my own flatlays because the different pages can give you a lot of options in terms of backgrounds and colour palettes. Pages with people, text and products all work well when taking beautiful photos.
5. Opt for a simple colour palette
Simple colour palettes are amazing to work with. If you choose a white canvas, for example, then have a product that’s cased in orange packaging, you could then easily go for an orange and white themed shot.
If you pick lots of different colours in one photo, it can begin to look crowded and not as eye-catching. Of course, this is a rule that can easily be broken as you can take amazing colourful shots but simple colour palettes will always yield great results. My favourite colour palette is white and pink. It always looks pretty and fits in with my blog’s theme.
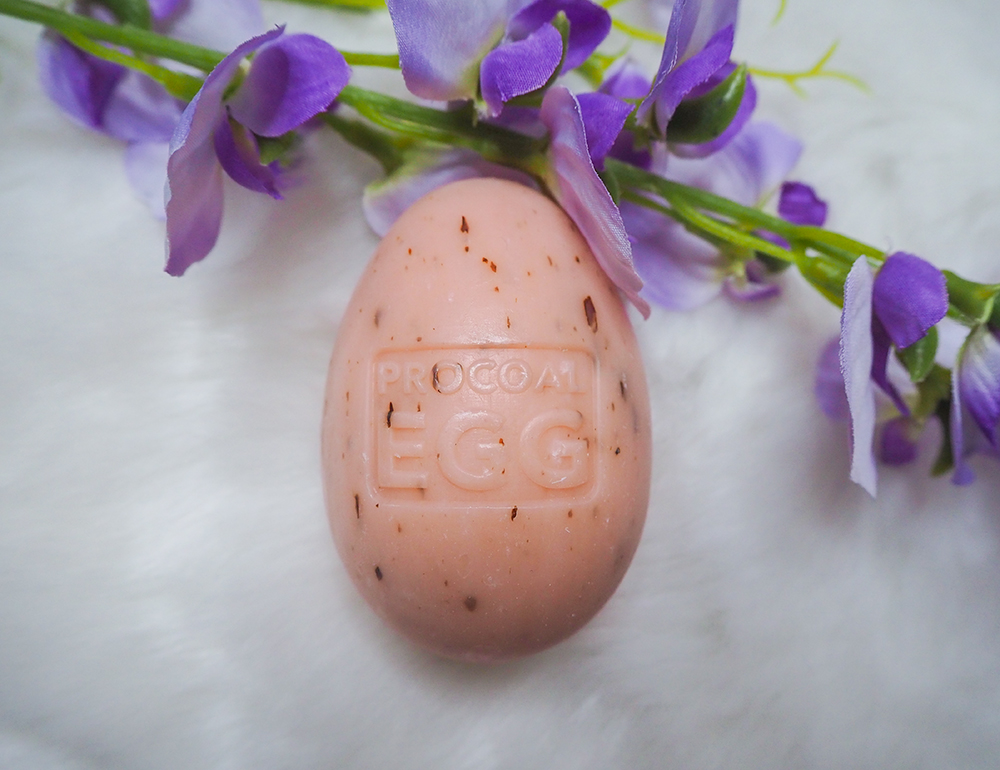
6. Add life to photos with faux flowers and plants
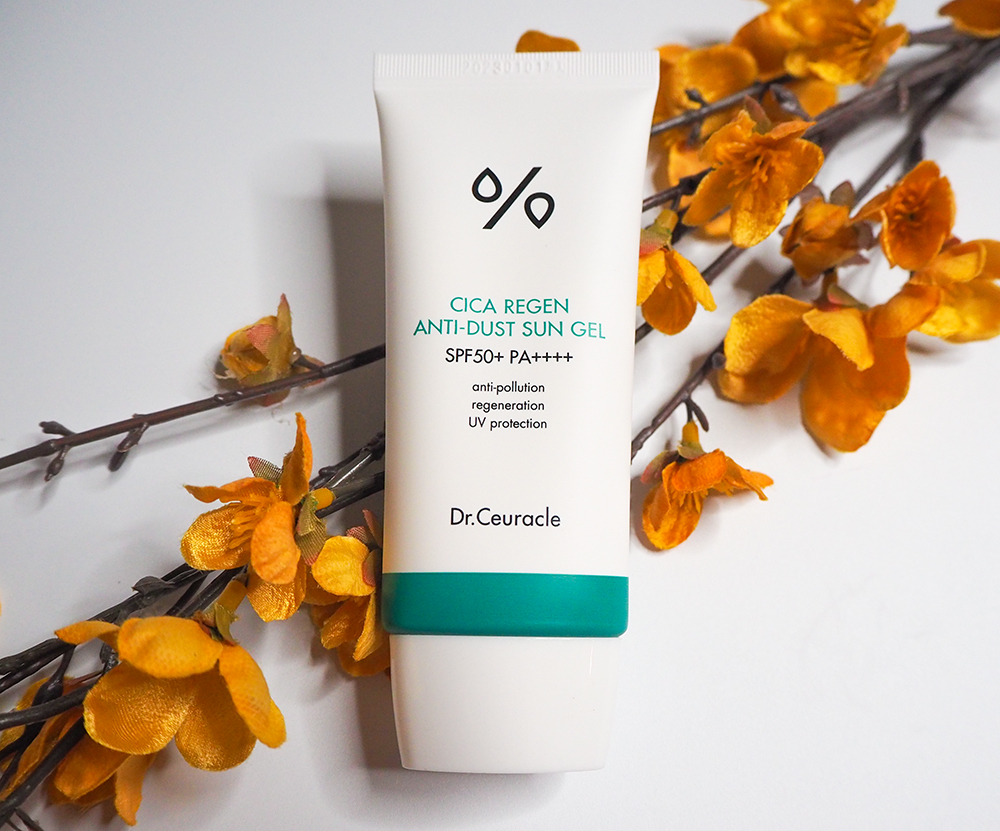
Faux flowers and plants are my go-to flatlay photography props. They instantly breathe life into photos and make them look vibrant. I find that placing products on top of/near faux botanicals creates such a simple yet effective photo. This is a photography style that you’ll see consistently across my blog as well as other blogs. I’ve got an array of different artificial plants, from faux cherry blossom and roses to palm leaves and eucalyptuses.
7. Play around with the layout
The best way to take good flatlay photos is to play around with the products in your picture. Change the layout, add props in like confetti, take other props out, swap a magazine out for some flowers, and so on, until you’re happy with the final photo. There’s no such thing as a “wong photo”, so get creative!
I’ve sometimes found that adding a few candles, wax melts or jewellery to my flatlay can help take up unnecessary white space to make the photo look more exciting and balanced.
8. Try jewellery and accessories
Placing jewellery or accessories in your photos can add some extra glamour. Pretty necklaces, hair slides and bracelets can all take photos from basic to beautiful. Also, topical items like sunglasses for a “makeup essentials for summer” blog post can help theme flatlays.
Similarly, adding some furry gloves to a seasonal winter photo featuring a hot chocolate, blankets and cosy socks help create a mood. This is a great way to get your audience to connect with your photography.
9. Layer products
Another fantastic flatlay photography tip is to layer products. Try putting a decorative plate on top of a furry white background or stacking skincare products on top of each other for extra dimension.
10. Edit your photos with pretty Lightroom presets
Okay, so you’ve finally taken the ultimate flatlay photo and now it’s time to publish it on social media or as part of a blog post. The final step you need to take is to edit it to ensure it looks eye-catching, bright and vibrant. I use Lightroom presets to help achieve the final look I want, which is normally either bright and airy or warm and vintage.
Honestly, editing your flatlays is one of the most important steps in this entire list. It can help you brighten shadows, sharpen aspects, add vibrancy or sort out over-saturated photos. This is essential for creative flair and creating captivating shots. The Lightroom presets from Wilde Presets are stunning and I can’t recommend them enough.
Summary of the best flatlay photography tips
- Use simple colour palettes and light backgrounds
- Play around with different props like necklaces, faux flowers and magazines
- Try different layouts
- Use a light and open space for your photos
- Edit your photos at the end to achieve the desired effect
- Get creative
Did you find this blog post helpful? Let me know in the comments below
I really love the different textures in your backgrounds. They really make whatever you are showcasing pop.