
We’ve all had times where our makeup looks cakey. It’s when makeup looks heavy, emphasises skin texture, and appears thick and caked on. It’s not a pretty look. But we’ve all been there.
Cosmopolitan summarises what cakey makeup looks like perfectly:
You might not be able to explain what cakey makeup is per se, but you definitely know it when you see it on your face: the dreaded lines of demarcation, the patchy, textured skin, the pores and fine lines that look more intense and obvious than they really are.
Cosmopolitan
You might be asking yourself “How do I stop my makeup from being cakey?” Well actually, it’s very easy to fix. This blog post provides crucial tips for ensuring makeup looks smooth and seamless every single time.
* This post contains some affiliate links. This means at no extra cost to you, I earn some commission if you purchase a product through my link. All thoughts are my own, though, as always. If you want to find out more, visit my affiliate disclosure page **
1. It’s all about the skin
Smooth makeup starts with a good skincare routine. After all, makeup is always going to sit better on an even canvas.
Exfoliate once a week to reduce any uneven texture or pimples. This will help ensure your skin has gotten rid of any dead skin cells and rough patches for a radiant base.
Keeping the skin hydrated is also key. Makeup can look patchy when your skin is dry or dehydrated, as it tries to draw moisture from your makeup. By moisturising your face and under-eyes, makeup will smooth over the top effortlessly. It’ll also keep your makeup looking fresh and dewy.
Of course, make sure you’re cleansing your skin daily to reduce the chance of breakouts by getting rid of any lingering product, oil, makeup, dirt, or grease on your skin. And always remember to wear SPF every single day. This is non-negotiable!
2. Prime, prime, prime
OK, so you’ve nailed your skin prep, and now it’s time to prime. I never used to bother with primers when I was younger. But since using them religiously, I’ve noticed a big difference in the way foundation glides on top of my skin, and how long my makeup lasts.
As the name suggests, primers prime your skin so that it’s ready for makeup. It ensures your base is even, hydrated, and poreless, avoiding the dreaded cakey look!
Choosing the right primer for your skin type is important. If you’ve got oily skin and find makeup breaks up quickly, go for a primer that’s mattifying, pore-filling, and blurring. If you’ve got dry or dehydrated skin and need extra moisture, opt for a primer that’s filled with hydrating ingredients.
I’ve got oily skin, and I like primers that are hydrating and tacky, so that foundation literally sticks on top. I find that these primers work really well for my skin type and help my foundation last all day without breaking up. The e.l.f. Cosmetics Power Grip Primer is one of my faves.
3. Choose the right foundation
After priming, picking a foundation that works for your skin type is essential.
If you’ve got dry or dehydrated skin and pick a foundation that does not have many hydrating ingredients, you’ll find that your foundation clings to dry patches and emphasises skin texture. This can lead to a cakey look. Pick a foundation that incorporates moisturising ingredients to keep your base nourished.
Likewise, if you’ve got oily skin and opt for a foundation that contains a lot of oils, you might find that this leads to your becoming greasy within a few hours. This can lead to makeup separating, which can look cakey. Try to go for a foundation that’s not overly oily to prevent this from happening. For example, the controversial Jones Road foundation ultimately didn’t agree with my oily skin, as my makeup broke down quicker than usual.
4. Apply makeup in thin layers
The biggest culprit for cakey makeup is applying too much product. You don’t need 3 pumps of foundation for your base to look even and smooth.
Start in thin layers. If you feel you need a bit more product, add a little more gradually. One of my biggest mistakes, when I was younger, was applying multiple pumps of foundation to cover redness and blemishes. Ultimately, this just made my makeup look cakey.
Instead, the solution is to apply a light bit of concealer or colour corrector and then add a thin foundation to even out the base. Let your natural skin peek through, and let your skin breathe. This looks far more natural. You can always go in with a little more product if you feel you need it, but it’s far trickier to remove excess product.
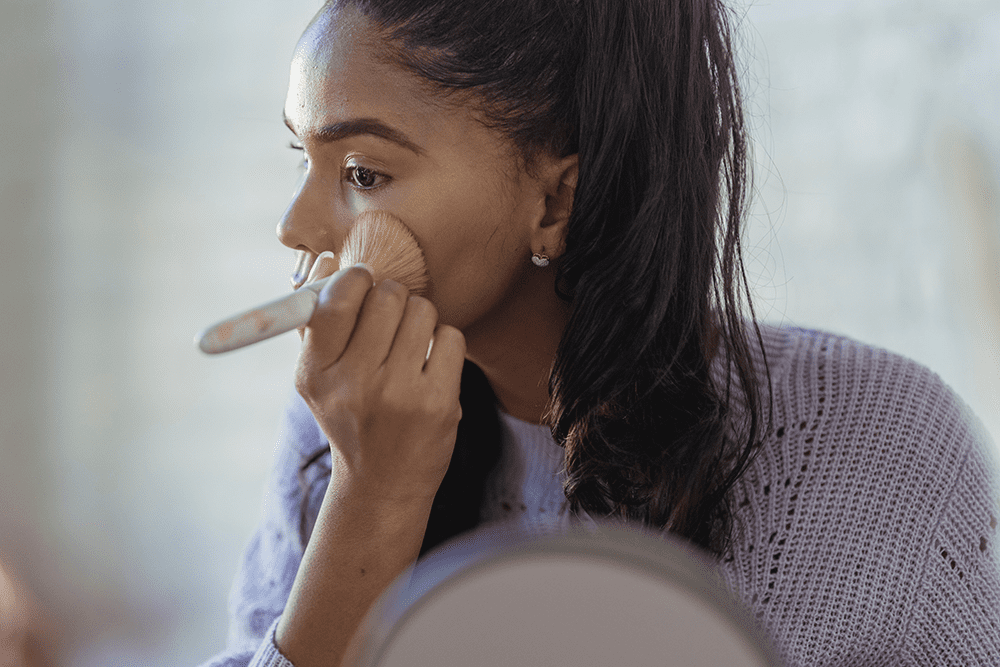
5. Blend, and then blend some more
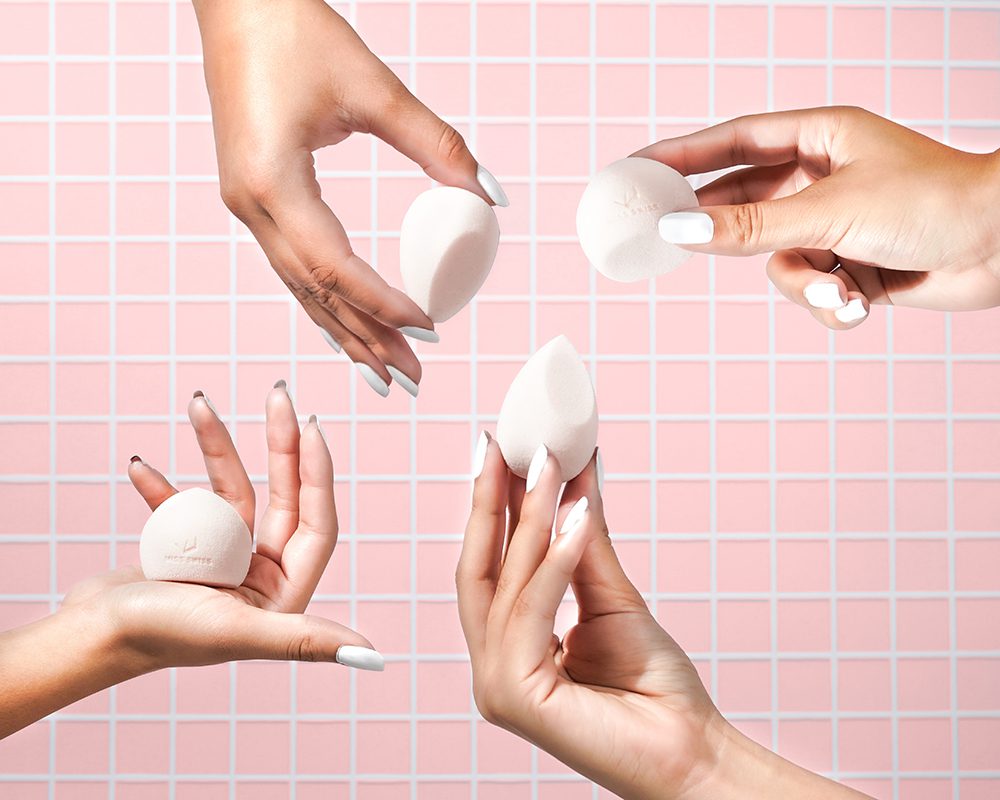
Be sure to blend your makeup for a seamless finish. Whether you like to use your fingertips, a brush, or a beauty blender, ensure you melt all your makeup into your skin.
I’ve had times where I’ve applied a bit too much foundation and it looks cakey. But it’s nothing a damp beauty blender can’t fix! Simply dab the beauty blender across your skin to remove any excess product for a lighter finish.
6. Set that base
Nobody wants their skin to look like a greasy, sweaty mess by the end of the day. My fellow oily-skinned readers will know this feeling all too well. To prevent your makeup from separating and looking cakey after a few hours, set your base with a setting powder and setting spray.
A top tip I’ve learned is to use a setting spray after doing my primer, foundation, and concealer and then go in with a translucent setting powder to really lock my makeup in place. This has made a huge difference to the longevity of my makeup, as it sets everything in place so that it doesn’t budge.
Oh, and only powder the areas that normally become oily on your skin. This is typically the t-zone. You don’t need a lot of setting powder for it to work either. Again, it’s all about not using too much product.
When using a setting powder, it’s best to apply cream-based makeup products first, then set it with the powder, and then move on to powder-based makeup products after (if using any). This stops makeup from congealing.
I think picking the right type of foundation was definitely a turning point for me. I used to love whatever was trendy at the time, but it often didn’t work for my dry and dehydrated skin. Luckily, there’s a lot more choice for me now to avoid a caked-on look.